How to connect to the dorm internet (Router + Switch)
Requirements:
- router
- switch
- 2 RJ45 ethernet cables
- a computer with administrator access and a RJ45 ethernet port.
You can use either a computer with a RJ45 Ethernet port, either an USB Ethernet Adaptor such as this one here.
Initial Connection Diagram
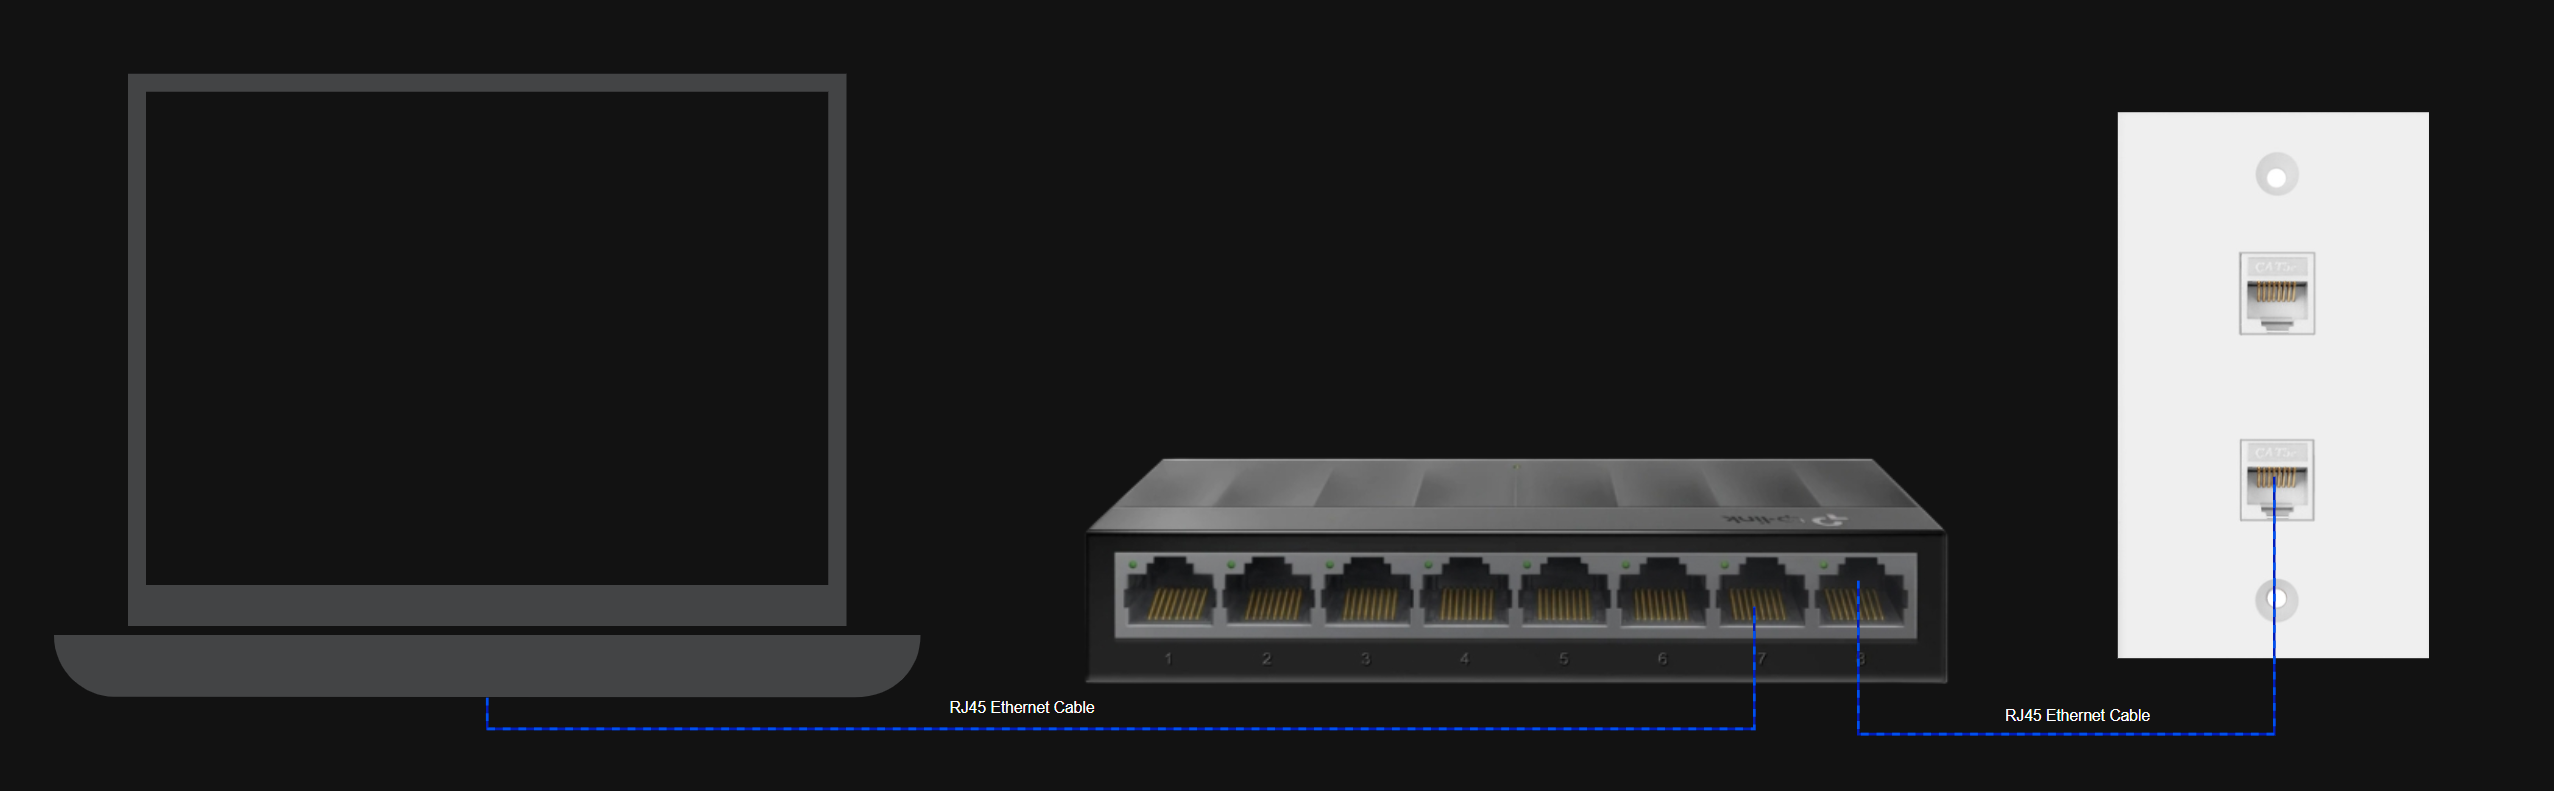
Please proceed only when you have finished the initial wiring as shown above!
Connection Setup
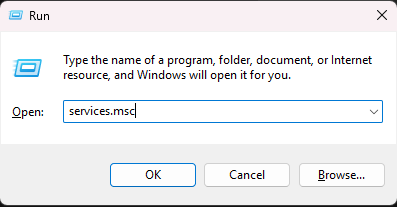
The dorm network uses 802.1X authentication. For this to work, you must enable the Wired AutoConfig service:
Press Win + R, type services.msc, press Enter.
- Scroll down and find Wired AutoConfig.
- Right-click → Properties.
- Set Startup type = Automatic.
- Click Start, then OK.
Without this, your PC will not be able to authenticate with the dorm network.
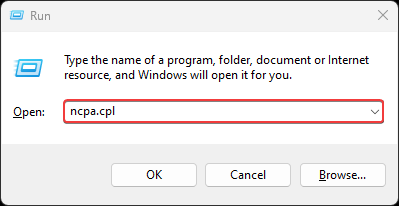
Press Win + R, type ncpa.cpl, press Enter.
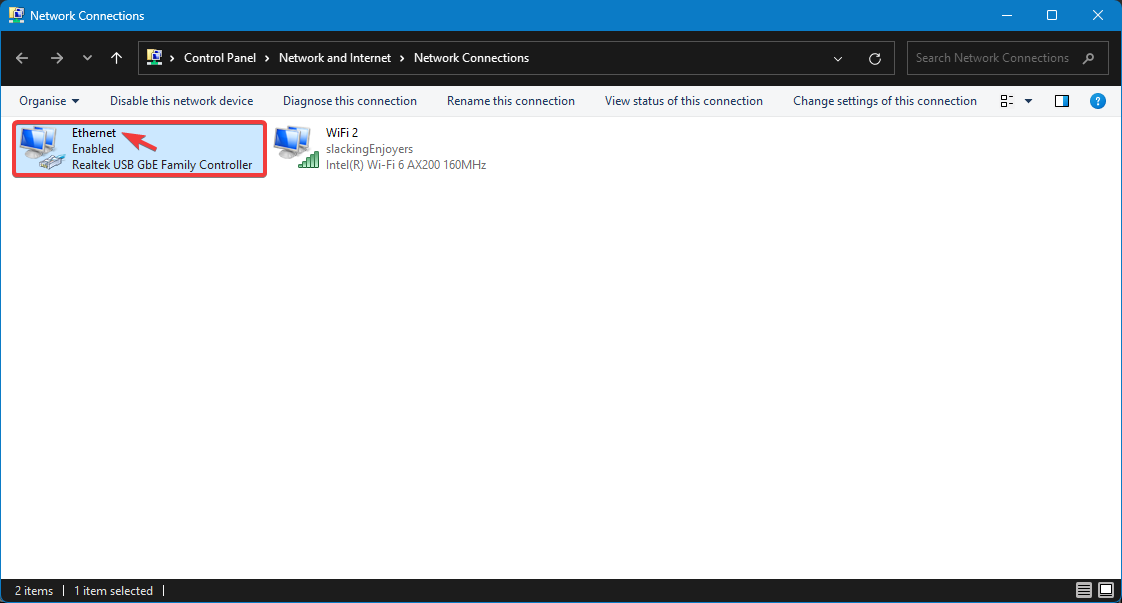
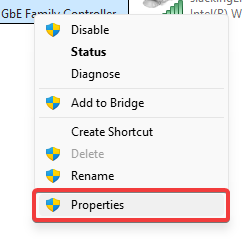
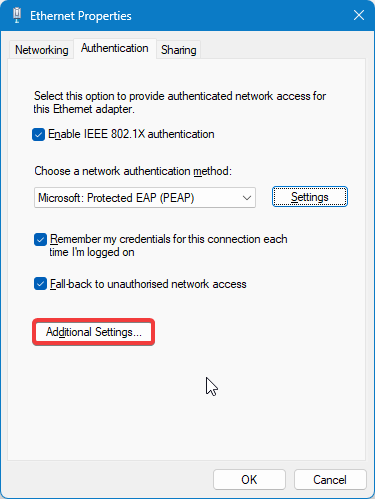
In the list of adapters, right-click your Ethernet adapter → Properties.
Tick Enable IEEE 802.1X authentication.
Choose network authentication method: Microsoft: Protected EAP (PEAP).
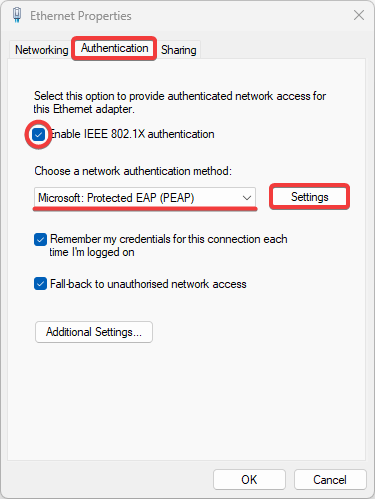
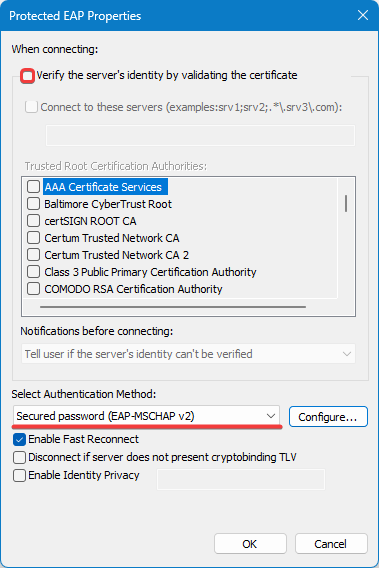
Click Settings → make sure Validate server certificate is not checked.
For Authentication Method, select Secured password (EAP-MSCHAP v2).
Click OK to close the current window.
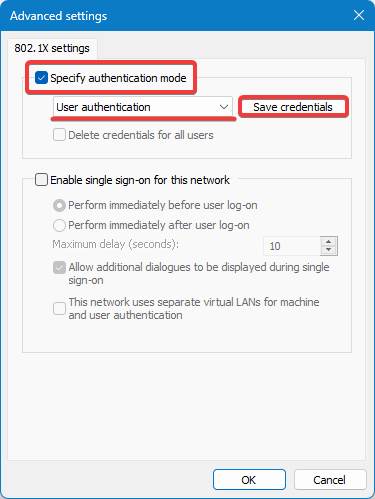
At Specify authentication mode, select User authentication.
Click Save credentials
Enter your username and password provided to you in my.upb.ro such as the following email:
ion.popescu@stud.fils.upb.ro

Press OK → then OK again to close all windows.
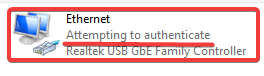
You should now see the Ethernet adapter trying to authenticate with the dorm network.
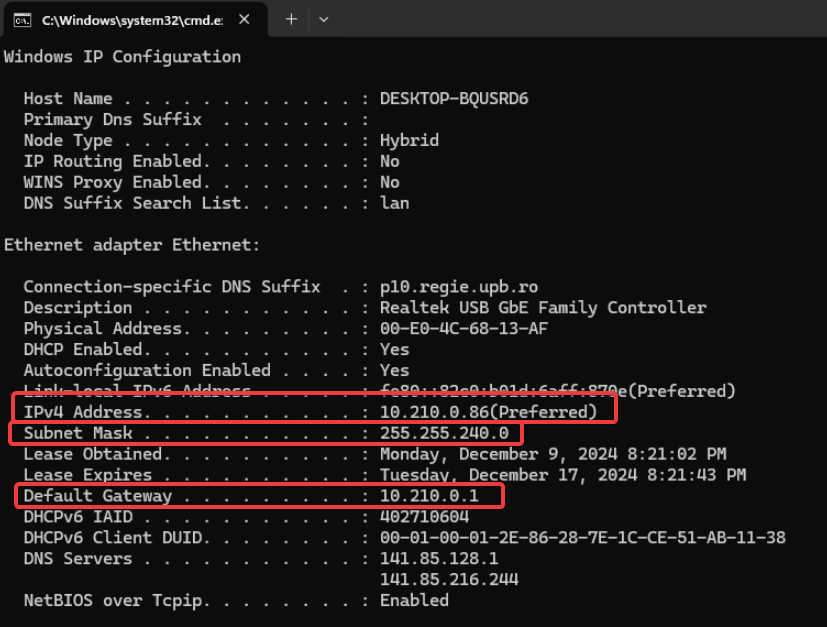
In order to start the router setup, you need to gather all the information provided by the dorm network. Example:
DO NOT USE THESE! - Use the ones you have in your case.
IP Address: 10.210.0.86
Subnet Mask: 255.255.240.0
Default Gateway: 10.210.0.1